Command prompt is an internal build application, which allows you to test different tasks on Windows operating systems. Therefore, here I will show you step by step guide on how to create a Bootable USB drive for Windows 11 using a command prompt.
Step 1. Download the Windows 11 from the above-given link. After that, attach the USB Drive to your computer then navigate to Windows start menu type there CMD once it appeared hit enter to open it.
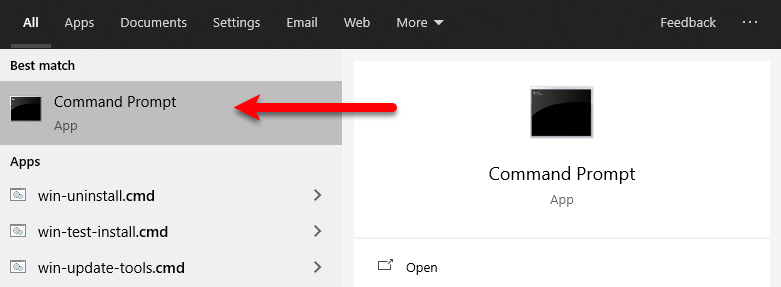
Step 2. Once the command prompt opened type “Diskpart” and press enter.

Step 3. Once this window opened type the below down commands step by step according to the below down screenshot.
1. List disk
2. Select disk //
3. Clean
4. Create Partition Primary
5. Format Fs=ntfs quick
6. Active
7. Assign
8. Exit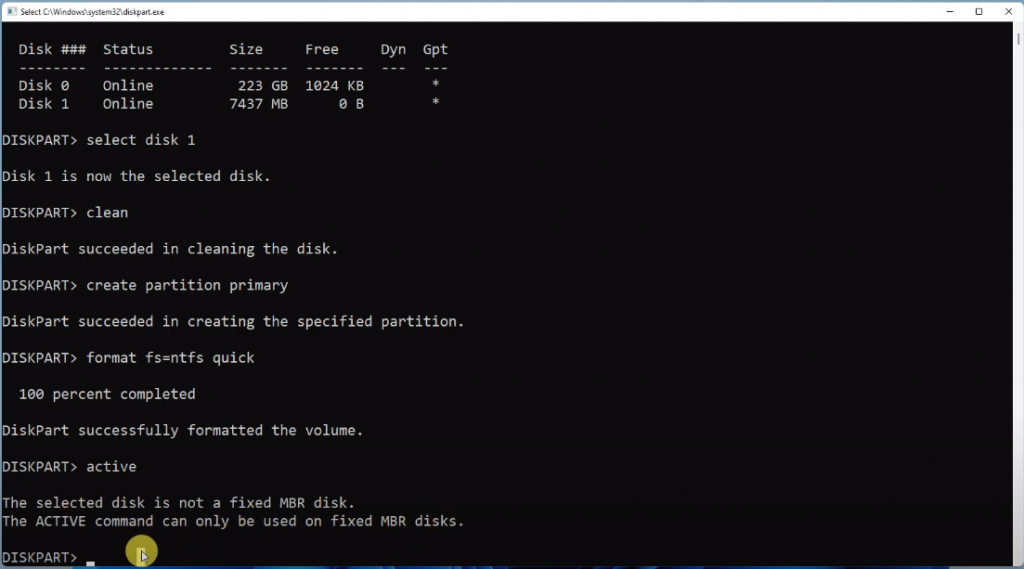
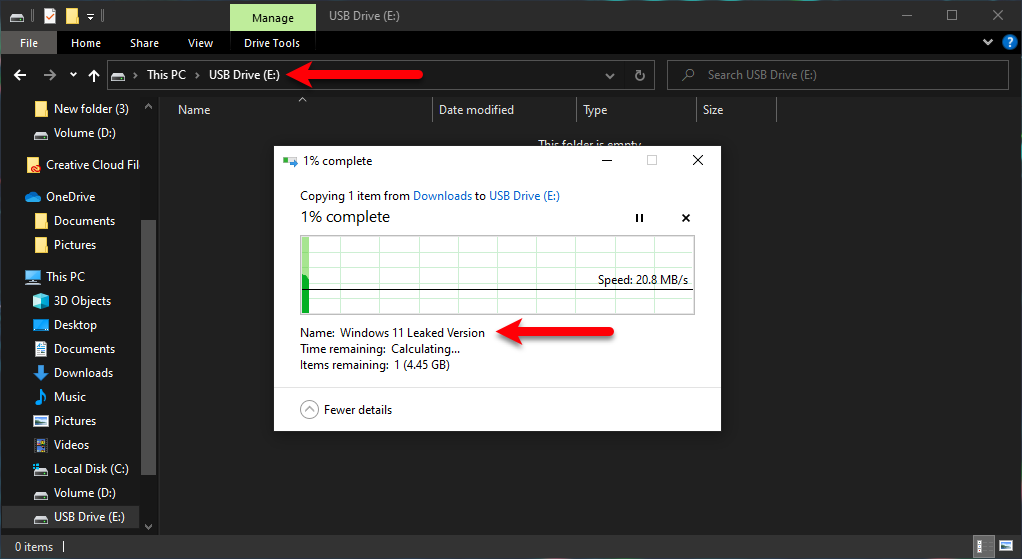
Step 4. When the commands applied exit the command prompt window. Now navigate to Windows 11 ISO file extract the file and copy that into USB Drive.
Final Point
Once the Bootable USB Drive successfully created for Windows 11. Attach the USB Drive to your computer restart your computer, then press the boot menu key. Select the USB Drive and press enter key then continue installing Windows 11 on your PC. However, if you faced any kind of error feels free to share with us via the comment section box.